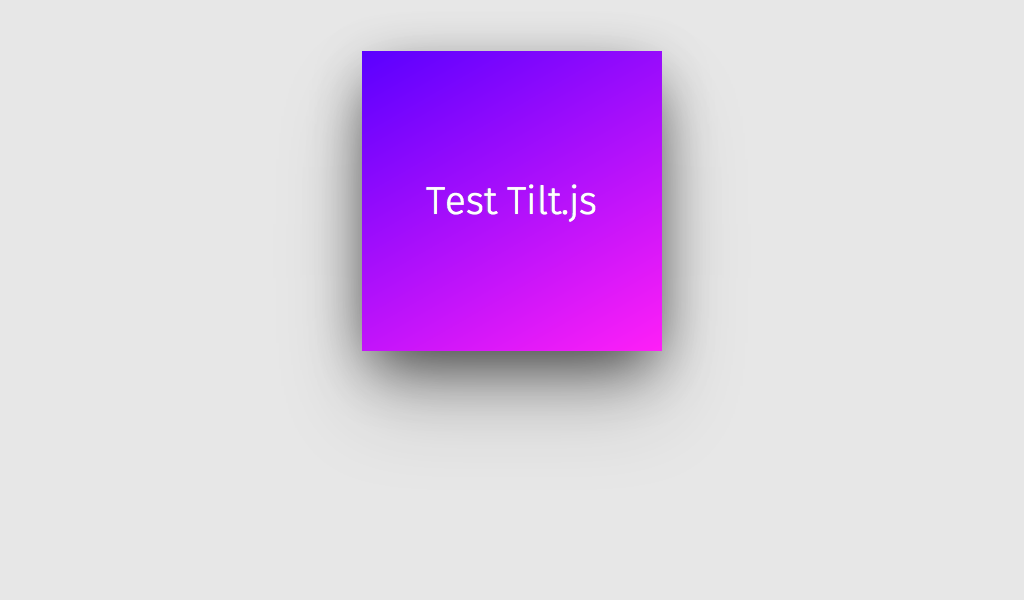
While I was surfing the web to see what JS developers has in a store lately, I stumbled upon this great plugin which makes web images come alive.
First of all, it’s coded in native JavaScript, not in jQuery which improves the performance. It depends on creating image layers above your image to create 3d like effects when the mouse pointer goes over it. It’s not mobile friendly because it works ???? when the mouse pointer enters the image area and works with only modern browsers. The browser compatibility isn’t a big problem, at least from my point of view because most internet users are abandoning the legacy browsers like IE8 and the versions before it.
This plugin has a lot of great effects and we will go on in details in a later article. For now, let’s get things going and make the magic of it happen.1- Let’s include the necessary files in the head tag of out page. You can include the script file at the end of the file for better performance.
3- It’s done now as simple as that. Save your file and see the magic happen.
Note: Don’t give your image any width or height styles because this will affect the plugin’s behavior. To make the image have a size that matches your design, wrap it inside a container, a <div> for example and add the style that you want to it.
This is pretty much that we do for today. Wait for the next article that will has more examples of what this beautiful plugin can do.