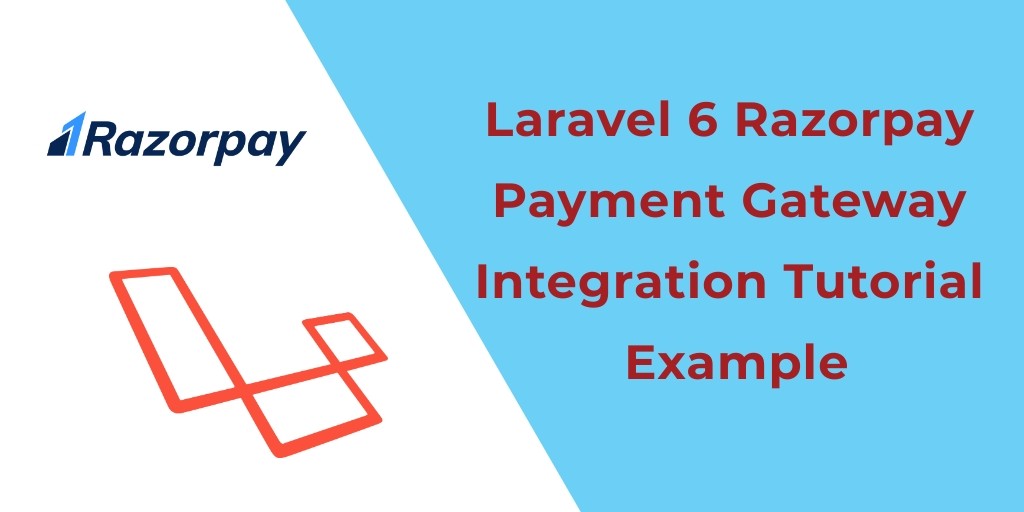
laravel 7/6 Razorpay Payment Gateway. We would love to share with you how to implement a razorpay payment gateway in laravel with example. Today we will implement a razorpay payment gateway in laravel application.
In this laravel razorpay payment gateway example, we will use the javascript lib of the razorpay payment gateway for payment deduction. Simply we will implement script code for payment deduction and after successfully payment has deducted, we need to redirect the success blade view.
Laravel Razorpay Payment Gateway Integration Example
Follow the below steps and integrate razorpay payment gateway in laravel web applications:
- Install Laravel App
- Setup Database
- Model & Migration
- Make Route
- Create Controller & Methods
- Create Blade View
- Start Development Server
Step 1: Install Laravel App
First, we need to download the latest laravel fresh setup. Use the below command and download fresh new laravel setup :
composer create-project --prefer-dist laravel/laravel RazorpayDemo
Step 2: Setup Database
After successfully install laravel latest Application, Go to your project .env file and set up database credential :
  DB_CONNECTION=mysql
  DB_HOST=127.0.0.1
  DB_PORT=3306
  DB_DATABASE=here your database name here
  DB_USERNAME=here database username here
  DB_PASSWORD=here database password here
Step 3: Model & Migration
Now we will create table name Payment and it’s migration file. use the below command.
php artisan make:model Payment -m
It command will create one model name Payment and also create one migration file for the Payment table. After successfully run the command go to database/migrations/Payments.php file and replace function, below here :
public function up()
 {
 Schema::create('payments', function (Blueprint $table) {
 $table->increments('id');
 $table->string('payment_id');
 $table->string('user_id');
 $table->string('amount');
 $table->timestamps();
 });
 }
Before we run php artisan migrate command go to app/providers/AppServiceProvider.php and put the below code :
…
 use Illuminate\Support\Facades\Schema;
 ….
 function boot()
 {
     Schema::defaultStringLength(191);
 }
 …
Next, migrate the table using the below command. It will create two new tables in the database.
php artisan migrate
Step 4: Make Route
We will create two routes in the web.php file. Go to app/routes/web.php file and create two below routes here. The first route for showing products. The second route for store payments_id and user information provided by the razorpay payment gateway.
  Route::get('product', 'RazorpayController@index');
  Route::post('paysuccess', 'RazorpayController@paysuccess');
  Route::post('razor-thank-you', 'RazorpayController@thankYou');
Step 5: Create Controller
We need to create a controller name RazorpayController. Use the below command and create Controller :
php artisan make:controller RazorpayController
After successfully create controller go to app/controllers/RazorpayController.php and put the below code :
<?php
 namespace App\Http\Controllers;
 use Illuminate\Http\Request;
 use App\Payment;
 use Redirect,Response;
 class RazorpayController extends Controller
 {
 public function razorpayProduct()
 {
 return view('payments.razorpay');
 }
 public function razorPaySuccess(Request $Request){
 $data = [
           'user_id' => '1',
           'payment_id' => $request->payment_id,
           'amount' => $request->amount,
        ];
 $getId = Payment::insertGetId($data);
 $arr = array('msg' => 'Payment successfully credited', 'status' => true);
 return Response()->json($arr);
 }
 public function RazorThankYou()
 {
 return view('payments.thankyou');
 }
 }
Step 6: Create Blade view
Now we will create a blade view file name razorpay.blade.php and where we will show product list.
Go to resources/views & create razorpay.blade.php file.
Get Your secret key from razorpay payment gateway dashboard and put the key in script tag section like this => “key”: “rzp_test_5kdfjkdJFKR”,
<!doctype html>
<html lang="en">
<head>
<meta charset="utf-8">
<meta name="viewport" content="width=device-width, initial-scale=1, shrink-to-fit=no">
<meta name="csrf-token" content="{{ csrf_token() }}">
<title>laravel 6 Razorpay Payment Gateway - Tutsmake.com</title>
<link rel="stylesheet" href="https://cdnjs.cloudflare.com/ajax/libs/twitter-bootstrap/4.1.3/css/bootstrap.min.css" />
<script src="//ajax.googleapis.com/ajax/libs/jquery/1.9.1/jquery.js"></script>
<style>
.card-product .img-wrap {
border-radius: 3px 3px 0 0;
overflow: hidden;
position: relative;
height: 220px;
text-align: center;
}
.card-product .img-wrap img {
max-height: 100%;
max-width: 100%;
object-fit: cover;
}
.card-product .info-wrap {
overflow: hidden;
padding: 15px;
border-top: 1px solid #eee;
}
.card-product .bottom-wrap {
padding: 15px;
border-top: 1px solid #eee;
}
.label-rating { margin-right:10px;
color: #333;
display: inline-block;
vertical-align: middle;
}
.card-product .price-old {
color: #999;
}
</style>
</head>
<body>
<div class="container">
<br>
<p class="text-center">More article on <a href="https://www.tutsmake.com/">Tutsmake.com</a></p>
<hr>
<div class="row">
<div class="col-md-4">
<figure class="card card-product">
<div class="img-wrap"><img src="//www.tutsmake.com/wp-content/uploads/2019/03/c05917807.png"></div>
<figcaption class="info-wrap">
<h4 class="title">Mouse</h4>
<p class="desc">Some small description goes here</p>
<div class="rating-wrap">
<div class="label-rating">132 reviews</div>
<div class="label-rating">154 orders </div>
</div>
<!-- rating-wrap.// -->
</figcaption>
<div class="bottom-wrap">
<a href="javascript:void(0)" class="btn btn-sm btn-primary float-right buy_now" data-amount="1000" data-id="1">Order Now</a>
<div class="price-wrap h5">
<span class="price-new">?1000</span> <del class="price-old">?1200</del>
</div>
<!-- price-wrap.// -->
</div>
<!-- bottom-wrap.// -->
</figure>
</div>
<!-- col // -->
<div class="col-md-4">
<figure class="card card-product">
<div class="img-wrap"><img src="//www.tutsmake.com/wp-content/uploads/2019/03/vvjghg.png"> </div>
<figcaption class="info-wrap">
<h4 class="title">Sony Watch</h4>
<p class="desc">Some small description goes here</p>
<div class="rating-wrap">
<div class="label-rating">132 reviews</div>
<div class="label-rating">154 orders </div>
</div>
<!-- rating-wrap.// -->
</figcaption>
<div class="bottom-wrap">
<a href="javascript:void(0)" class="btn btn-sm btn-primary float-right buy_now" data-amount="1280" data-id="2">Order Now</a>
<div class="price-wrap h5">
<span class="price-new">?1280</span> <del class="price-old">?1400</del>
</div>
<!-- price-wrap.// -->
</div>
<!-- bottom-wrap.// -->
</figure>
</div>
<!-- col // -->
<div class="col-md-4">
<figure class="card card-product">
<div class="img-wrap"><img src="//www.tutsmake.com/wp-content/uploads/2019/03/jhgjhgjg.jpg"></div>
<figcaption class="info-wrap">
<h4 class="title">Mobile</h4>
<p class="desc">Some small description goes here</p>
<div class="rating-wrap">
<div class="label-rating">132 reviews</div>
<div class="label-rating">154 orders </div>
</div>
<!-- rating-wrap.// -->
</figcaption>
<div class="bottom-wrap">
<a href="javascript:void(0)" class="btn btn-sm btn-primary float-right order_now" data-amount="1280" data-id="3">Order Now</a>
<div class="price-wrap h5">
<span class="price-new">?1500</span> <del class="price-old">?1980</del>
</div>
<!-- price-wrap.// -->
</div>
<!-- bottom-wrap.// -->
</figure>
</div>
<!-- col // -->
</div>
<!-- row.// -->
</div>
<!--container.//-->
<br><br><br>
<article class="bg-secondary mb-3">
<div class="card-body text-center">
<h4 class="text-white">Welcome to Tutsmake.com<br> </h4>
<p class="h5 text-white">Thank you for being here </p>
<br>
<p><a class="btn btn-warning" target="_blank" href="//tutsmake.com/"> Tutsmake.com
<i class="fa fa-window-restore "></i></a>
</p>
</div>
<br><br><br>
</article>
<script src="https://checkout.razorpay.com/v1/checkout.js"></script>
<script>
var SITEURL = '{{URL::to('')}}';
$.ajaxSetup({
headers: {
'X-CSRF-TOKEN': $('meta[name="csrf-token"]').attr('content')
}
});
$('body').on('click', '.buy_now', function(e){
var totalAmount = $(this).attr("data-amount");
var product_id = $(this).attr("data-id");
var options = {
"key": "rzp_test_SYm5UF3bsPxKKR",
"amount": (totalAmount*100), // 2000 paise = INR 20
"name": "Tutsmake",
"description": "Payment",
"image": "//www.tutsmake.com/wp-content/uploads/2018/12/cropped-favicon-1024-1-180x180.png",
"handler": function (response){
$.ajax({
url: SITEURL + 'paysuccess',
type: 'post',
dataType: 'json',
data: {
razorpay_payment_id: response.razorpay_payment_id ,
totalAmount : totalAmount ,product_id : product_id,
},
success: function (msg) {
window.location.href = SITEURL + 'razor-thank-you';
}
});
},
"prefill": {
"contact": '9988665544',
"email": 'devfeedly21@gmail.com',
},
"theme": {
"color": "#528FF0"
}
};
var rzp1 = new Razorpay(options);
rzp1.open();
e.preventDefault();
});
/*document.getElementsClass('buy_plan1').onclick = function(e){
rzp1.open();
e.preventDefault();
}*/
</script>
</body>
</html>
Go to resources/views and Create a new blade view file name thankyou.blade.php. It is used for showing after payment success.
<!DOCTYPE html>
<html>
<head>
<title>Thank You - Tutsmake</title>
<link rel="stylesheet" href="https://cdnjs.cloudflare.com/ajax/libs/twitter-bootstrap/4.1.3/css/bootstrap.min.css" />
</head>
<body class="">
<br><br><br><br>
<article class="bg-secondary mb-3">
<div class="card-body text-center">
<h4 class="text-white">Thank you for payment<br></h4>
<br>
<p><a class="btn btn-warning" target="_blank" href="https://www.tutsmake.com/"> Tutsmake.com
<i class="fa fa-window-restore "></i></a></p>
</div>
<br><br><br>
</article>
</body>
</html>
Now we are ready to run our razorpay payment gateway with laravel 6 examples so run bellow command to quick run.
Step 7: Start Development Server
We need to start the development server. Use the php artisan serve command and start your server :
 php artisan serve
 If you want to run the project diffrent port so use this below command
 php artisan serve --port=8080
Now we are ready to run our example so run bellow command to quick run.
 http://localhost:8000/
 Or direct hit in your browser
 http://localhost/RazorpayDemo/produc